For a peer-reviewed publication which will appear in print as well as digitally, we need to show part of a user interface. While it is easy to create a screenshot, the problem you run into is that publishers often specify that you need to submit 300 dpi resolution figures. As screen resolutions are all 72 dpi this leaves you either with a tiny (unreadable) figure or with a zoomed-in one which looks blurry (see Figure 1 below).
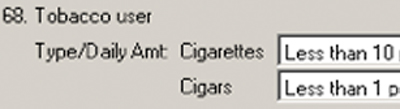
Figure 1: Screenshot of User Interface (zoomed in and blurry)
The alternative requires a bit more work, but results in a much better outcome: In this example, I have recreated the user interface in Photoshop as vector graphic which allows me to derive an image file of any resolution. Compare the end-result (Figure 2) with the initial attempt using a regular screenshot. I will briefly explain how I have created the particular screen elements.
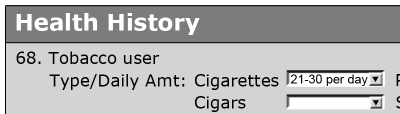
Figure 2: Exported user interface (recreated in Photoshop)
There is no need to explain how to create the actual text layers and the gray box I believe, but the drop-down menu (aka select box) requires several steps and a total of 4 layers to make it look realistic. First, we need a white box with a bevel. Select as foreground color white, select the Rectangular Tool (U) from the tool palette and then select Shape layers in the options palette (see Figure 3).
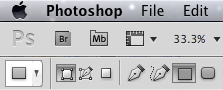
Figure 3: Shape layers option selected
Draw a rectangular shape layer which you can change in size at any time. Then, you need to add a layer style using the “fx” symbol at the bottom of the layers palette. Select Bevel and Emboss and use the settings in Figure 4.

Figure 4: White select box with bevel.
Note that the Bevel is “Up.” Then, select as foreground color a light gray (RGB 211:211:211) and add another rectangular shape as button for the select option and add again a layer style (see Figure 5).
Figure 5: Gray select box button with bevel.
Note that the Bevel is “Down.” Now, you add the little downwards-pointing black arrow by selecting black as foreground color and change to the Polygon Tool. Note that you will have to change the default sides from 5 to 3 sides. After adding the actual text layer (pick a san serif font) with your select option, you have a total of 4 layers for the user interface control (see Figure 6).
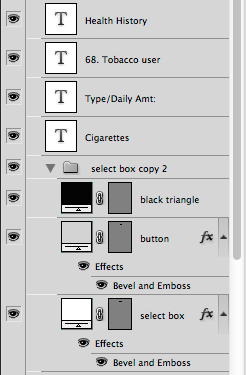
Figure 6: Layers palette after completion
This technique can easily be modified for check boxes and other user interface control.
